The classic description of TDD that most people know is the 3 rules by Bob Martin. I think his rules are a very succinct description, and for a long time I’ve just relied on them, together with a picture of “red-green-refactor” to describe TDD to newcomers. More recently I’ve found value in expanding this description in terms of states and moves.
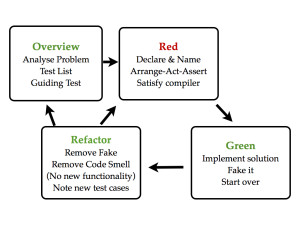
When I’m doing TDD in a coding dojo using the Randori form, I get people stepping up to take the keyboard who’ve never done it before, and I find it helps them to understand what’s going on if I explain which state we’re in and what the legal moves are for that state. The picture I’ve used is like this:
I’d like to go through each state and some of the moves you can make in each.
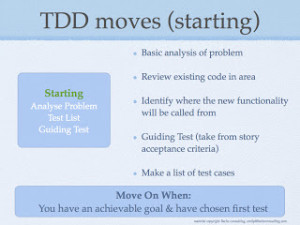
I think before we start on a TDD coding session there is value in doing a small amount of analysis and planning. In the dojo, I’ll spend around 15 minutes in this starting state before we start coding. We’ll talk about the chosen kata so everyone hopefully understands the problem we’re going to solve. We’ll write a list of potential test cases on a whiteboard, and identify some kind of “guiding test”. This is an overarching test that will probably take us a couple of hours to get to pass. It helps us to define the API we want to write, and the goal for our session. We may also talk a little about how we’ll implement the solution, perhaps discuss a possible data structure or algorithm.
I know the group is ready to move on when we have sketched a guiding test or goal for the session, and have chosen the first test we’ll try to make pass.
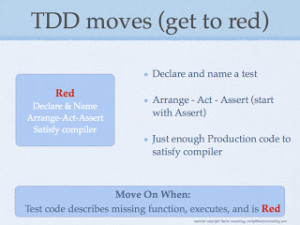
When we’re getting to red, we’re trying to set up a small achievable goal. We’ll choose a simple test from our list, one that will help us towards our session goal (guiding test). This test should force us to address a weakness in our production code.
Starting with naming the test then writing the assert statement helps us to focus on what the missing functionality is. Then we can fill in the “act” and “arrange” parts of the test. I’m not sure who invented the “Arrange, Act, Assert” moniker for structuring tests, but the idea is that a test has three parts. In the “Arrange” part you set up the objects the system under test will interact with, in the “Act” part, you call the production code to do whatever it is, and in the “Assert” step, you check it did what you expected.
In a compiled language it helps to fill in a bit of production code while we’re writing the test, but only just enough to keep the compiler quiet. Once the test executes, and is red, you can move on.
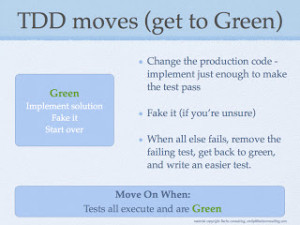
This is where we flip over to the production code (I’ve seen newbies presented with a failing test trying to edit the test to make it green!).
If we can easily see what the implementation should be, we might just write it, but often it helps to return some kind of fake value, until we work out what the code should be. Sometimes in this state we find the test we wrote is too hard, and we need to get back to green by removing or commenting out the failing test. This is a sign we understand the problem better than we did before, which is a good thing. In that case, we’ll go back to “Getting to red” and write a better test. Otherwise, we get to green by making the new test pass.
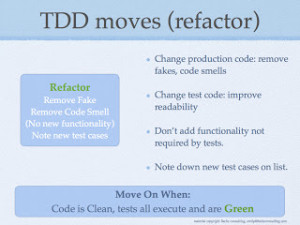
The refactoring move is where we want to remove fake implementations, refactor away code smells and improve code readability generally. Don’t forget there may also be duplication and readability problems in the tests as well as the production code. The trick is to do a series of small refactorings that taken together lead to a better design. Try to stay only a few keystrokes away from a running system (green tests).
While we’re looking for refactorings, we’ll probably spot weaknesses in the production code implementation – functionality that is missing or cases that are not handled. This is a cue to note new test cases, not to fix the code. If we find a hard coded return value, say, we should be able to think of a new test case that will force us to write a better implementation.
We can move on when we’re happy the design of the code is good (for the test cases so far).
At some point hopefully we’ll find we can get our guiding test to pass, and/or that we’re out of time and the coding session is over. We’ll look through the code a final time, (as we check it in, maybe), then take a few minutes to reflect on what we learnt during this coding session. In the coding dojo, we’ll spend some time discussing what was good and bad about this dojo session, and what we might do differently next time based on what we’ve learnt.
The cycle begins again with the next coding task or the next dojo session.


