It’s Test-Driven Development with a twist! Developing new functionality with approval tests requires some slightly different steps, but if you’re a visual thinker like me you might just prefer it. In this blog post I’ll explain how it works.
Turning an Example by Martin Fowler into a Refactoring Kata
Note: this article was first published on Praqma's blog Writing tests for ‘Theatrical Players’ When I read Fowler’s new ‘Refactoring’ book I felt sure the example from the first chapter would make a good Code Kata. However, he didn’t include the code for the test...
Pipeline – The Game that Delivers!
A new card game to design Continuous Delivery pipelines Note: This article was originally published on Praqma's blog What testing steps should you include in your Continuous Delivery pipeline? Don’t just string together existing manual processes - use simple,...
Approvals and Mutation Testing
When you inherit difficult code it can take weeks to become productive. Having the right tools for the job and knowing how to use them makes a huge difference. These videos show you how. Note: this post originally appeared here...
Three Approval Katas
I've been favouring an Approval Testing approach for many years now, since I find it pretty useful in many situations, particularly for acceptance tests. Not many people I meet know the term though, and even fewer know how to use the technique. Recently I've put...
Announcing a new Kata – Leaderboard
I've been interested for a while in the relationship between TDD and good design for a while, and the SOLID principles of Object Oriented Design in particular. I've got this set of 4 "Racing Car" exercises that I originally got from Luca Minudel, that I've done in...
Iterative and Incremental TDD with the Diamond Kata
Recently I became intrigued with something Seb Rose said on his blog about 'recycling' tests. He talks about first producing a test for a 'low fidelity' version of the solution, and refining it as you learn better what the solution should look like. In a follow-up...
Introducing a Code Kata: Medicine Clash
This Code Kata is included in my new book "The Coding Dojo Handbook", currently published as a work-in-progress on LeanPub.com. You can also download starting code and these instructions from my github page. As a Health Insurer, I want to be able to search for...
Refactoring Kata fun
I've been working on a kata called "Tennis"*, which I find interesting, because it is quite quick to code, yet is a big enough problem to be worth doing. It's also possible to enumerate pretty much all the allowed scores, and get very comprehensive test coverage. What...
KataMontyHall
I was at the local Ruby User Group last night, and I coded up KataMontyHall (see below) as a prepared Kata in front of the group. I got some great comments and feedback while I was coding, and I think the solution I ended up with was better than any I had created by...

Hi – I´m Emily!
I am a consultant with Bache Consulting and chair of the Samman Technical Coaching Society. As a technical coach I work with software development organizations who want to get better at technical practices like Test-Driven Development, Refactoring and Incremental Design. I also write books and publish videos. I live in Gothenburg, Sweden, although I am originally from the UK.

Practical Coaching –
Beyond the Blog
If you’re enjoying the insights shared here on the blog, you might enjoy my training too.
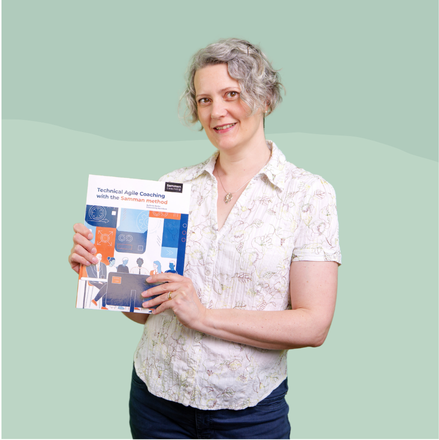
“Technical Agile Coaching with the Samman Method” offers a practical guide to improving how developers collaborate and write code. You’ll learn hands-on techniques for Test-Driven Development, Refactoring, and effective team coaching.
To learn more about the book, just click the link below.
Blog categories


